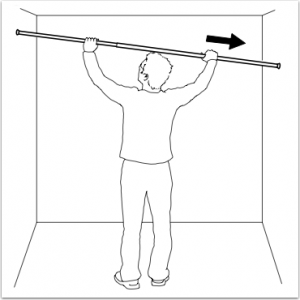
 I do not buy spring loaded shower curtain rod too often so I often forget how to install and adjust one. After the move I bought a IKEA Savern show curtain rod and for a few minutes cannot figure out how to adjust the length. Then it came back to me. You just PULL. There is a lot of built in resistance inside the rods to keep them attached. You just have to pull really hard to extend the rod until it is just a little longer than what you need.
Another tip: If you ended up pulling the two rods apart, make sure you insert the smaller rod back into the larger rod spring side last. The spring at the end of the smaller rod is supplying the tensions.
IKEA Galant Desk Assembly
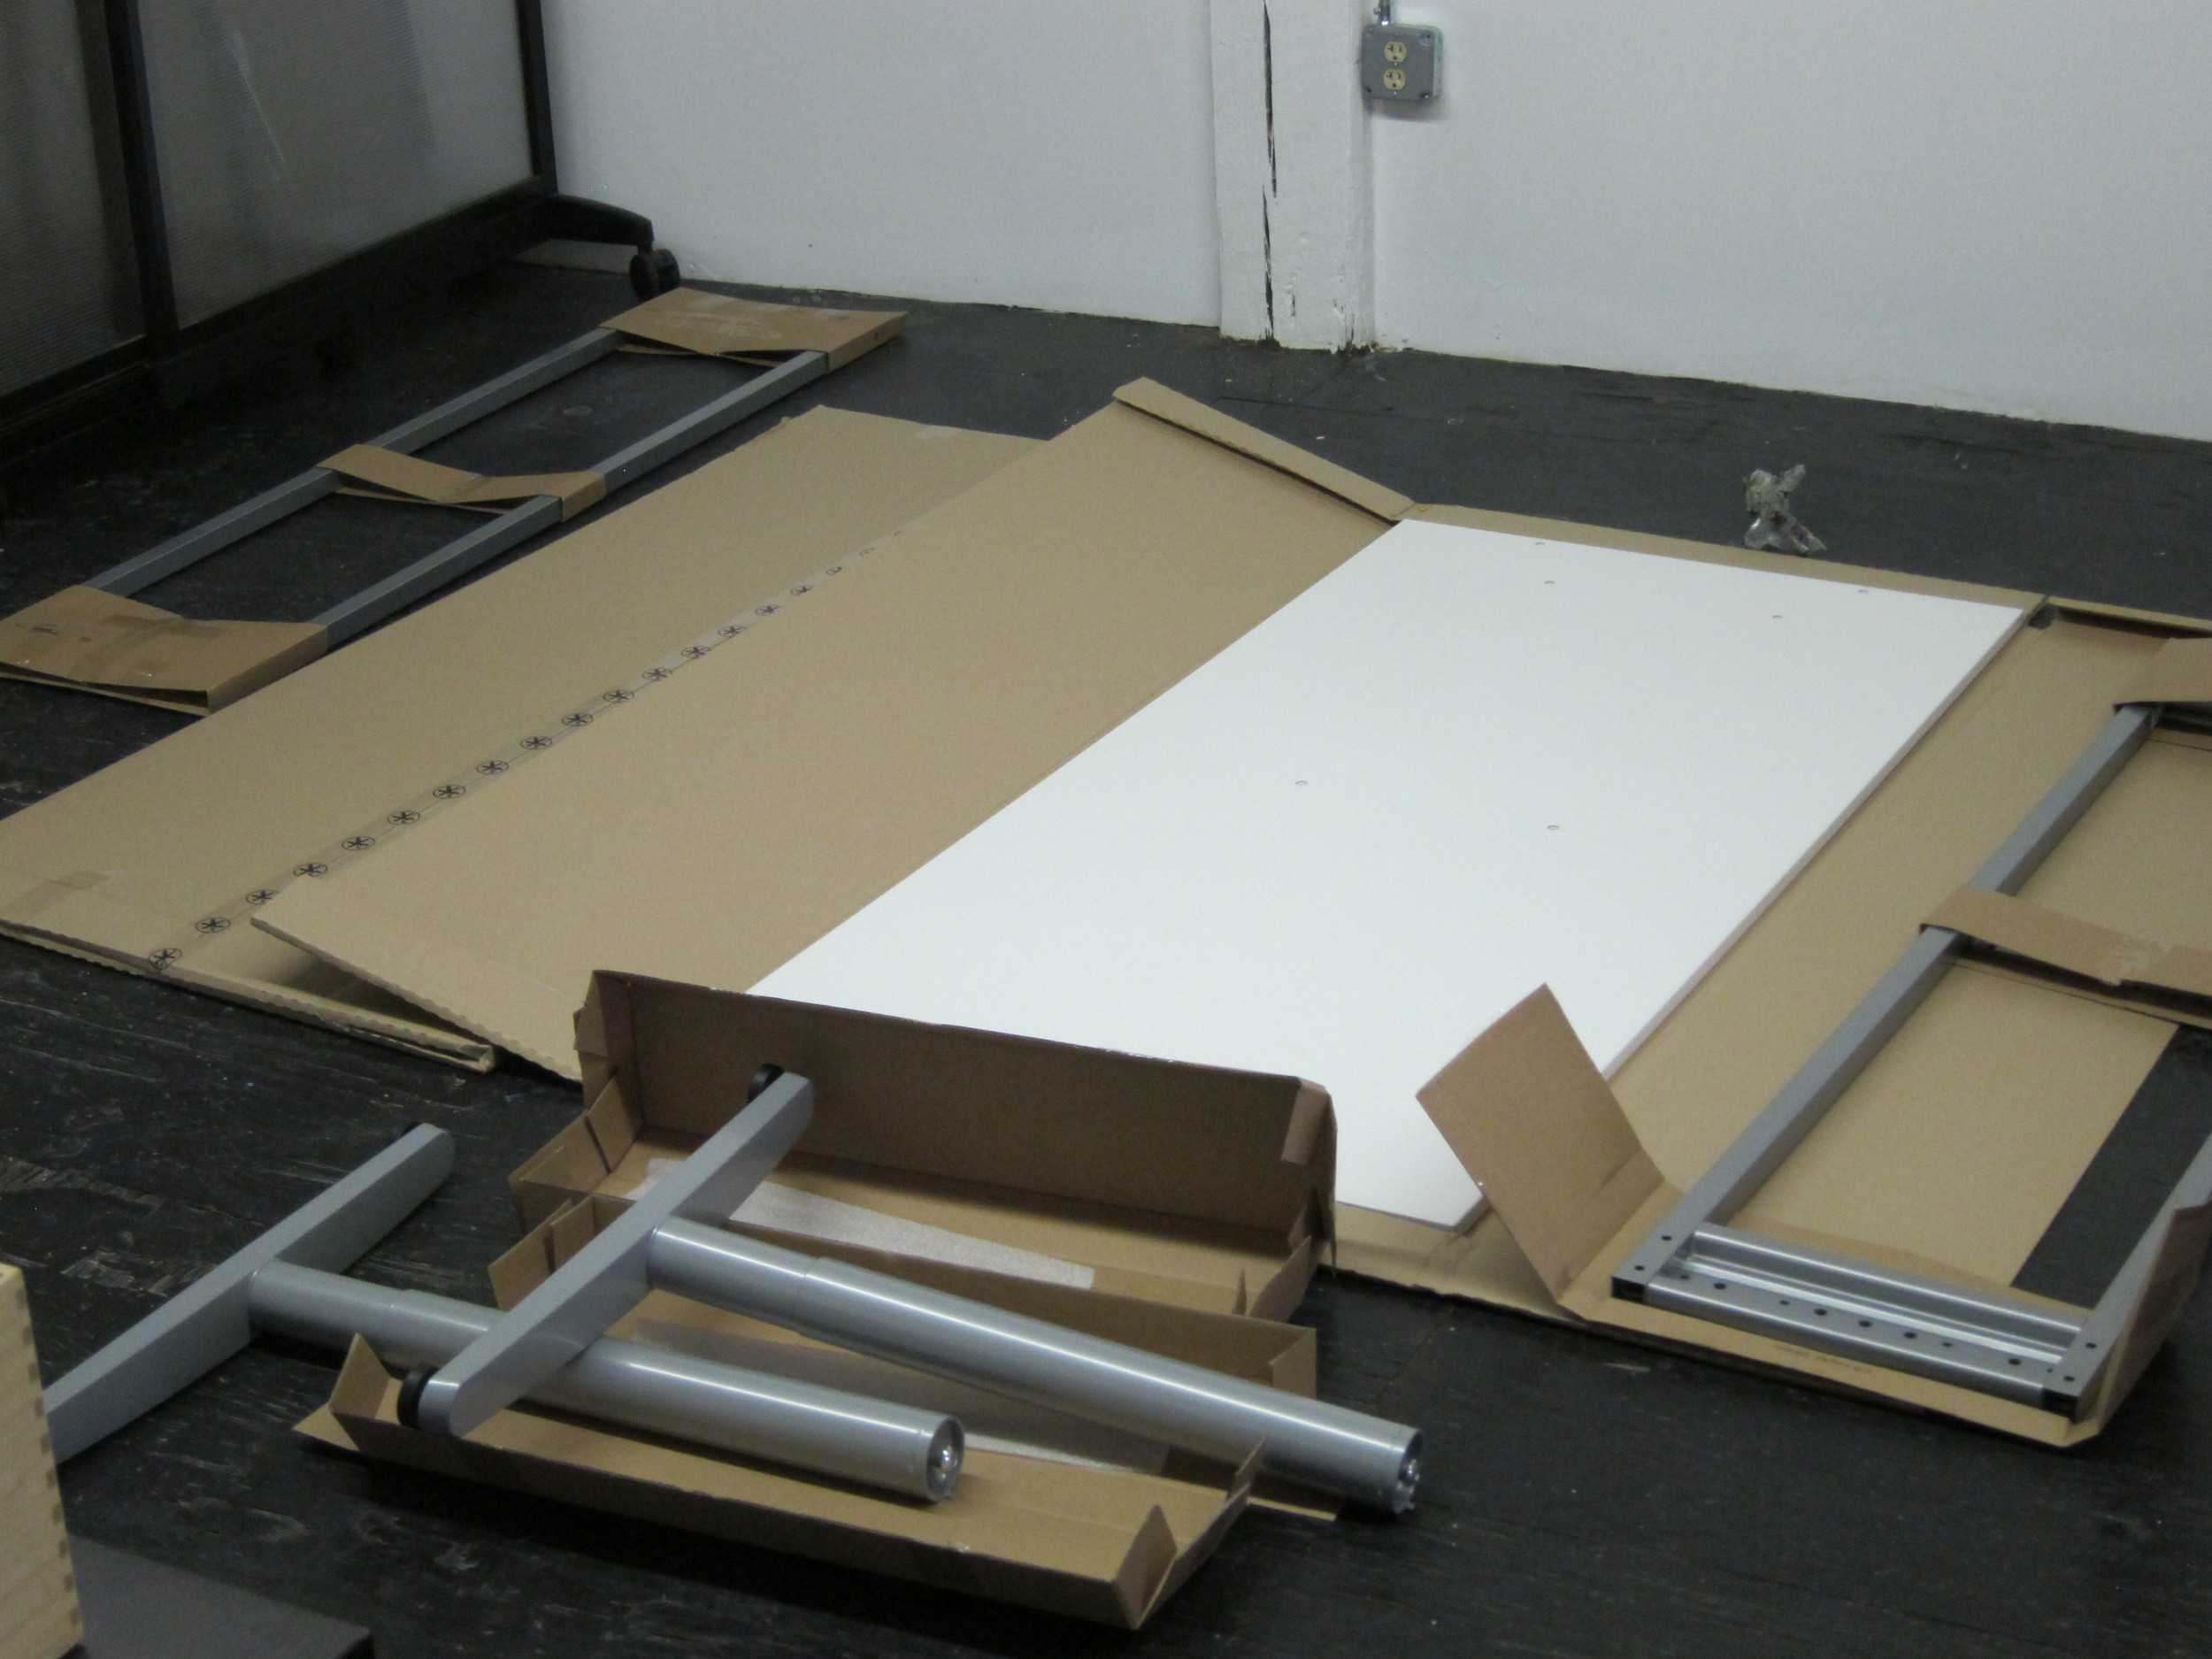
If you have to remember one thing, it is "attach the legs to the frame first". These desks are great. We used them in the office. They keep innovating with the product line. For 2011, they have added a new cable tray and a divider that makes them perfect for office setup, instead of just "home" office setup. The dividers are not cheap, but compare to something from steelcase, they are still a steal.
Some tips that are not obvious if you are shopping for the Galant desks:
- The T legs are the best because they fit inside the foot print of the desk. If you plan on grouping the desks together they will not get into each other's way. Otherwise depending on how high you have the desk height set, the legs may stick out.
- The T legs unfortunately only comes in grey. I wish they make a shiny steel option.
- The legs are sold in single pack. So you need to buy two legs for one desk (normally).
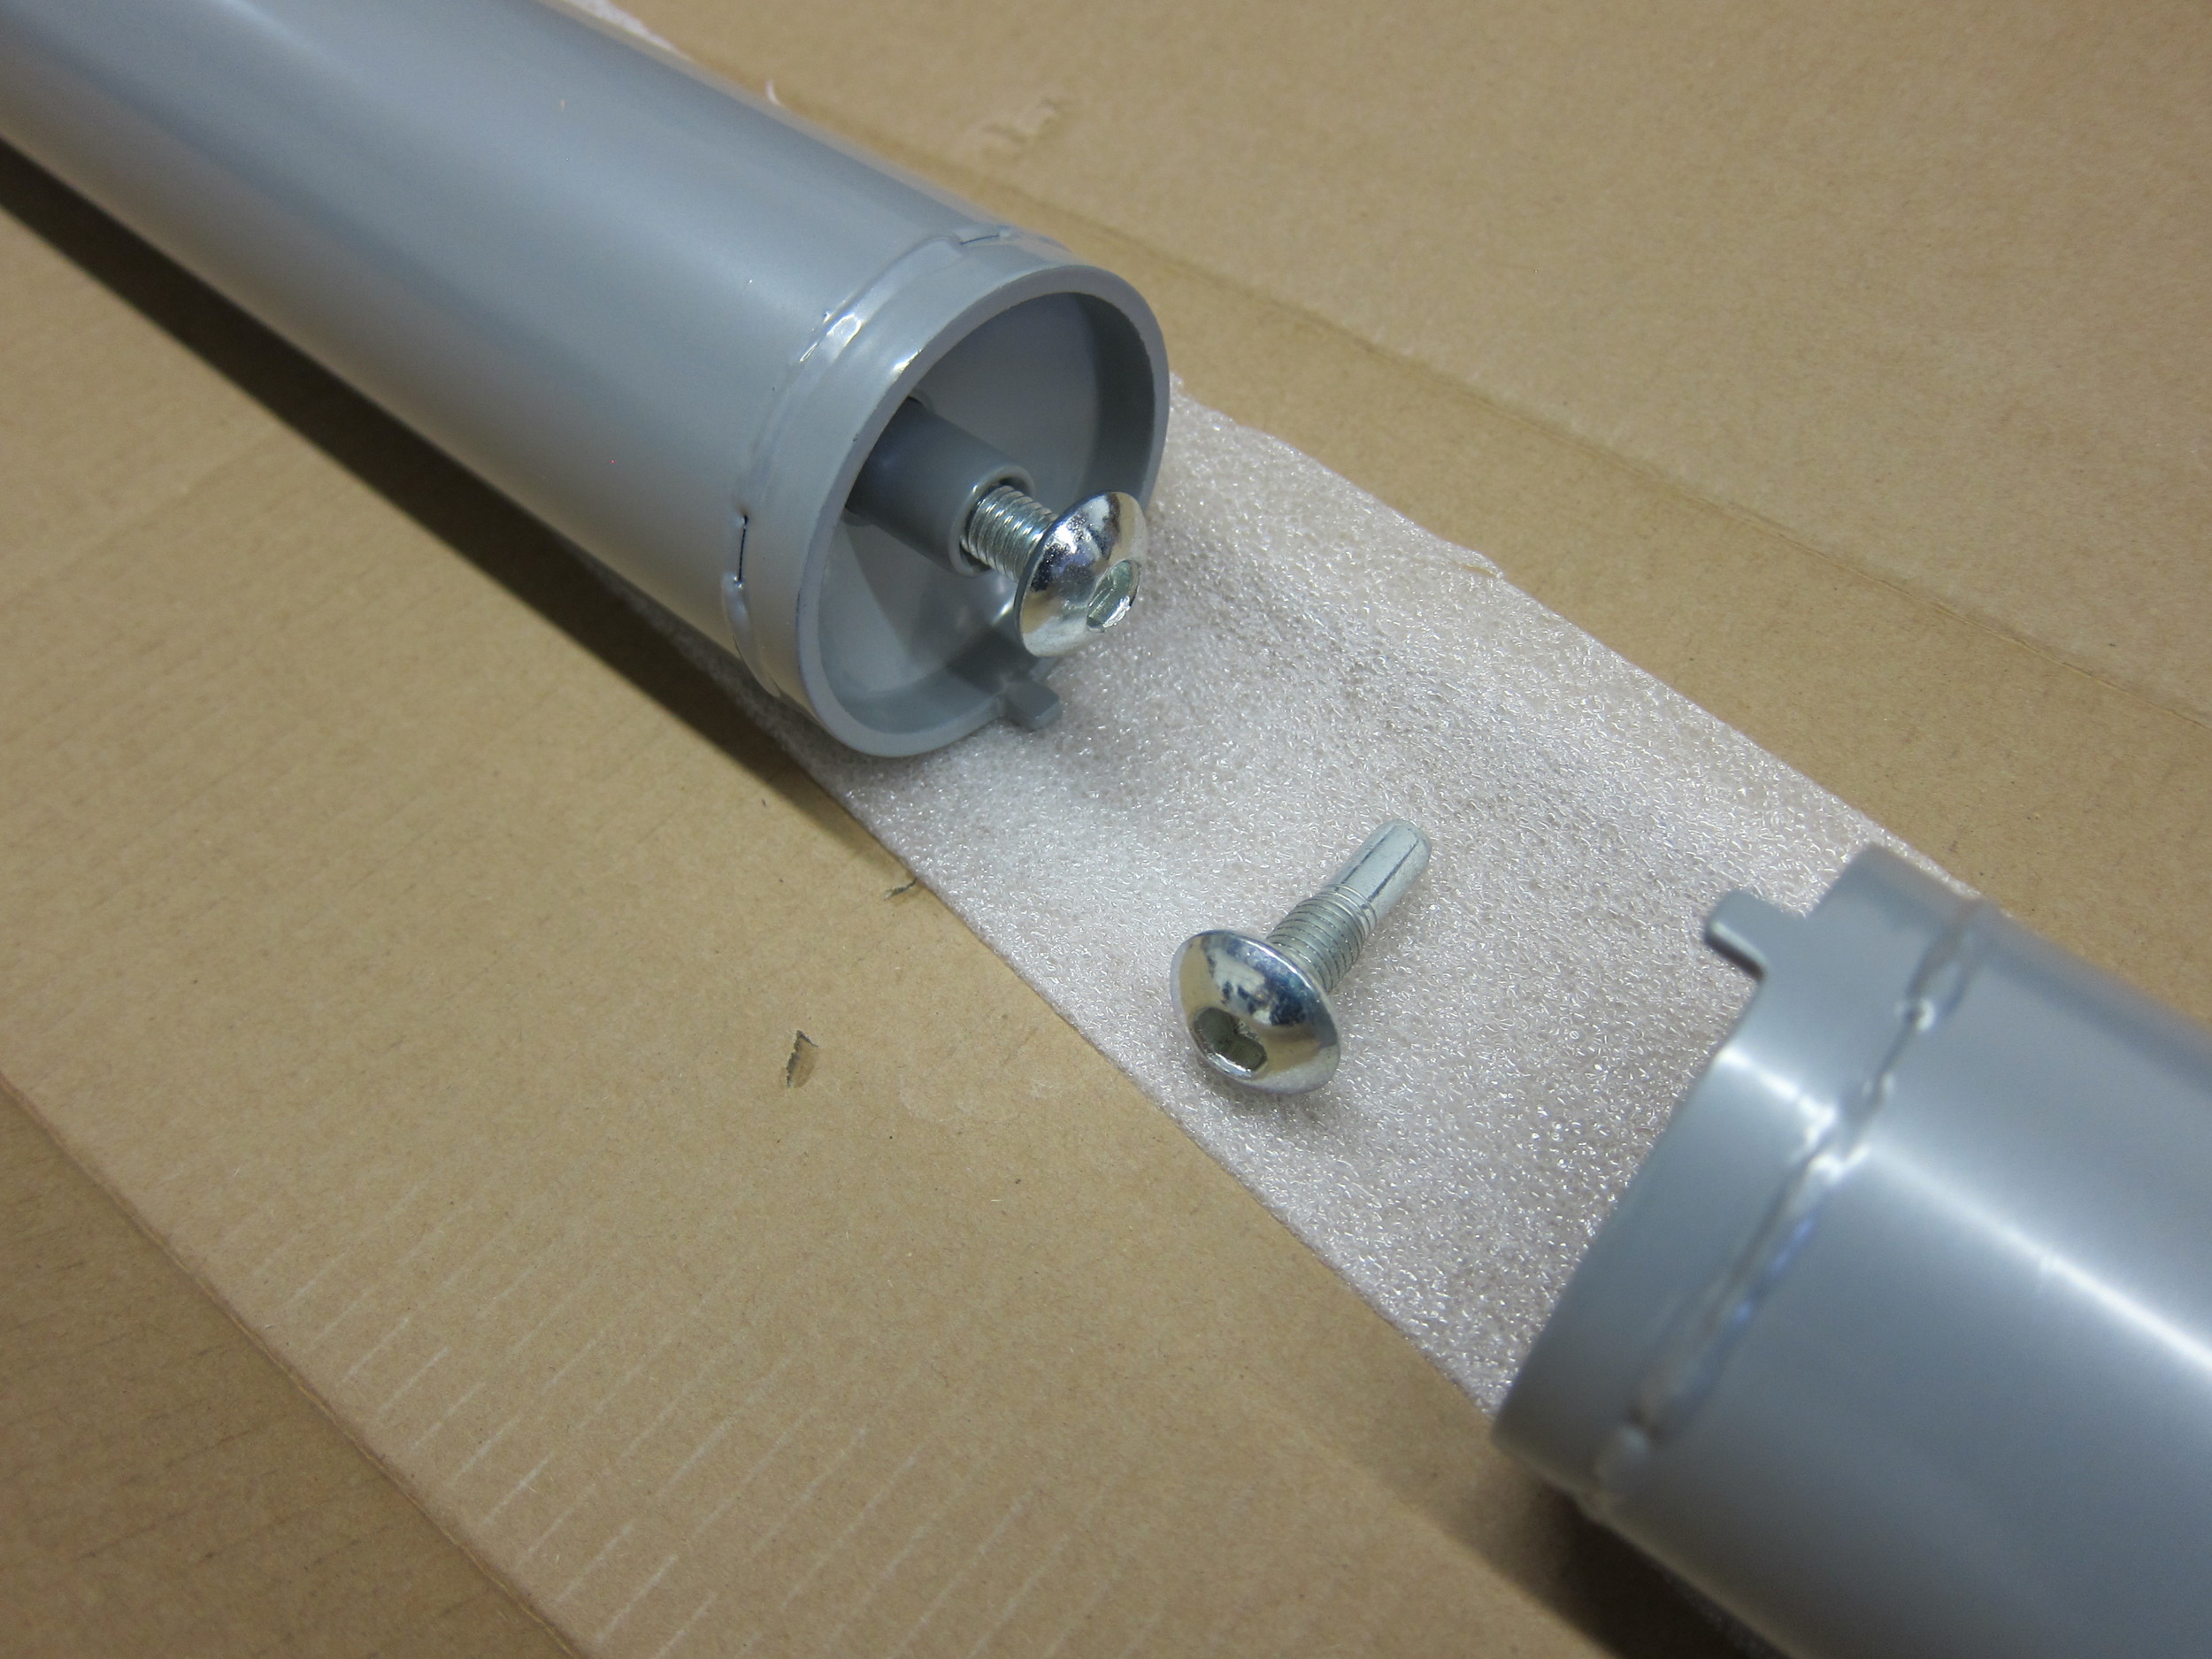
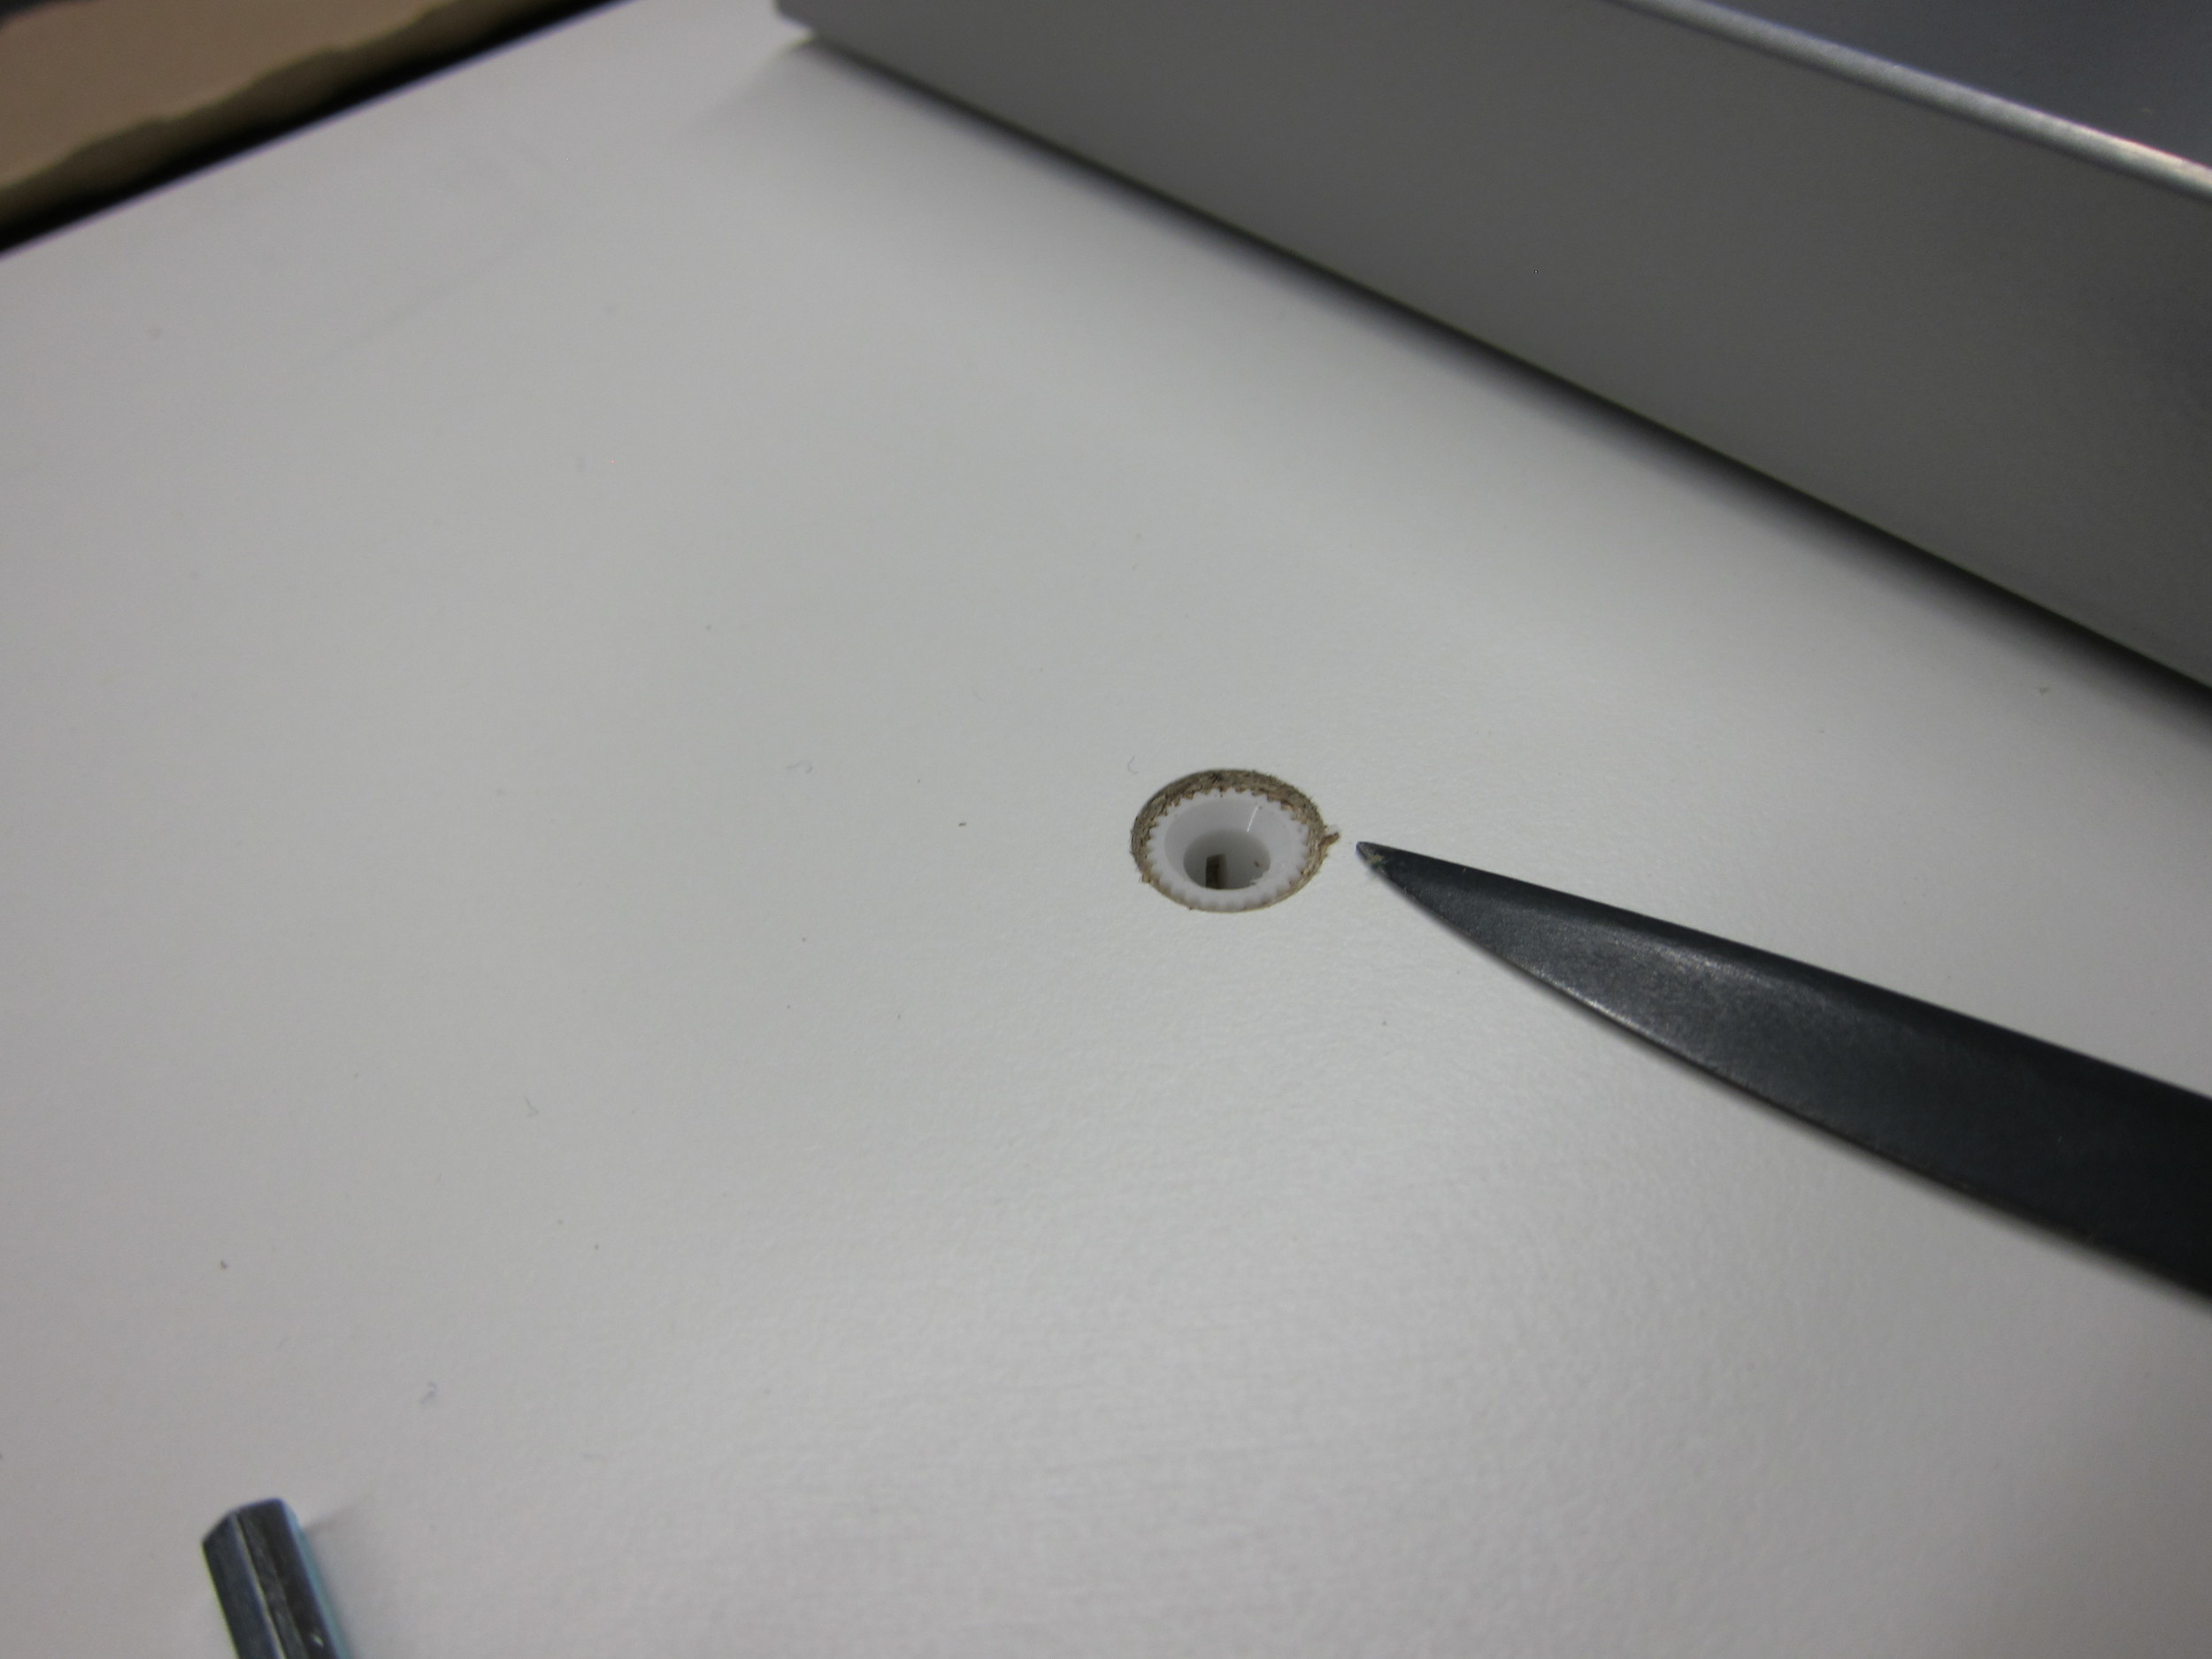
- A nice touch -- the legs come with a little glue on holder for the leg height adjustment hex key.
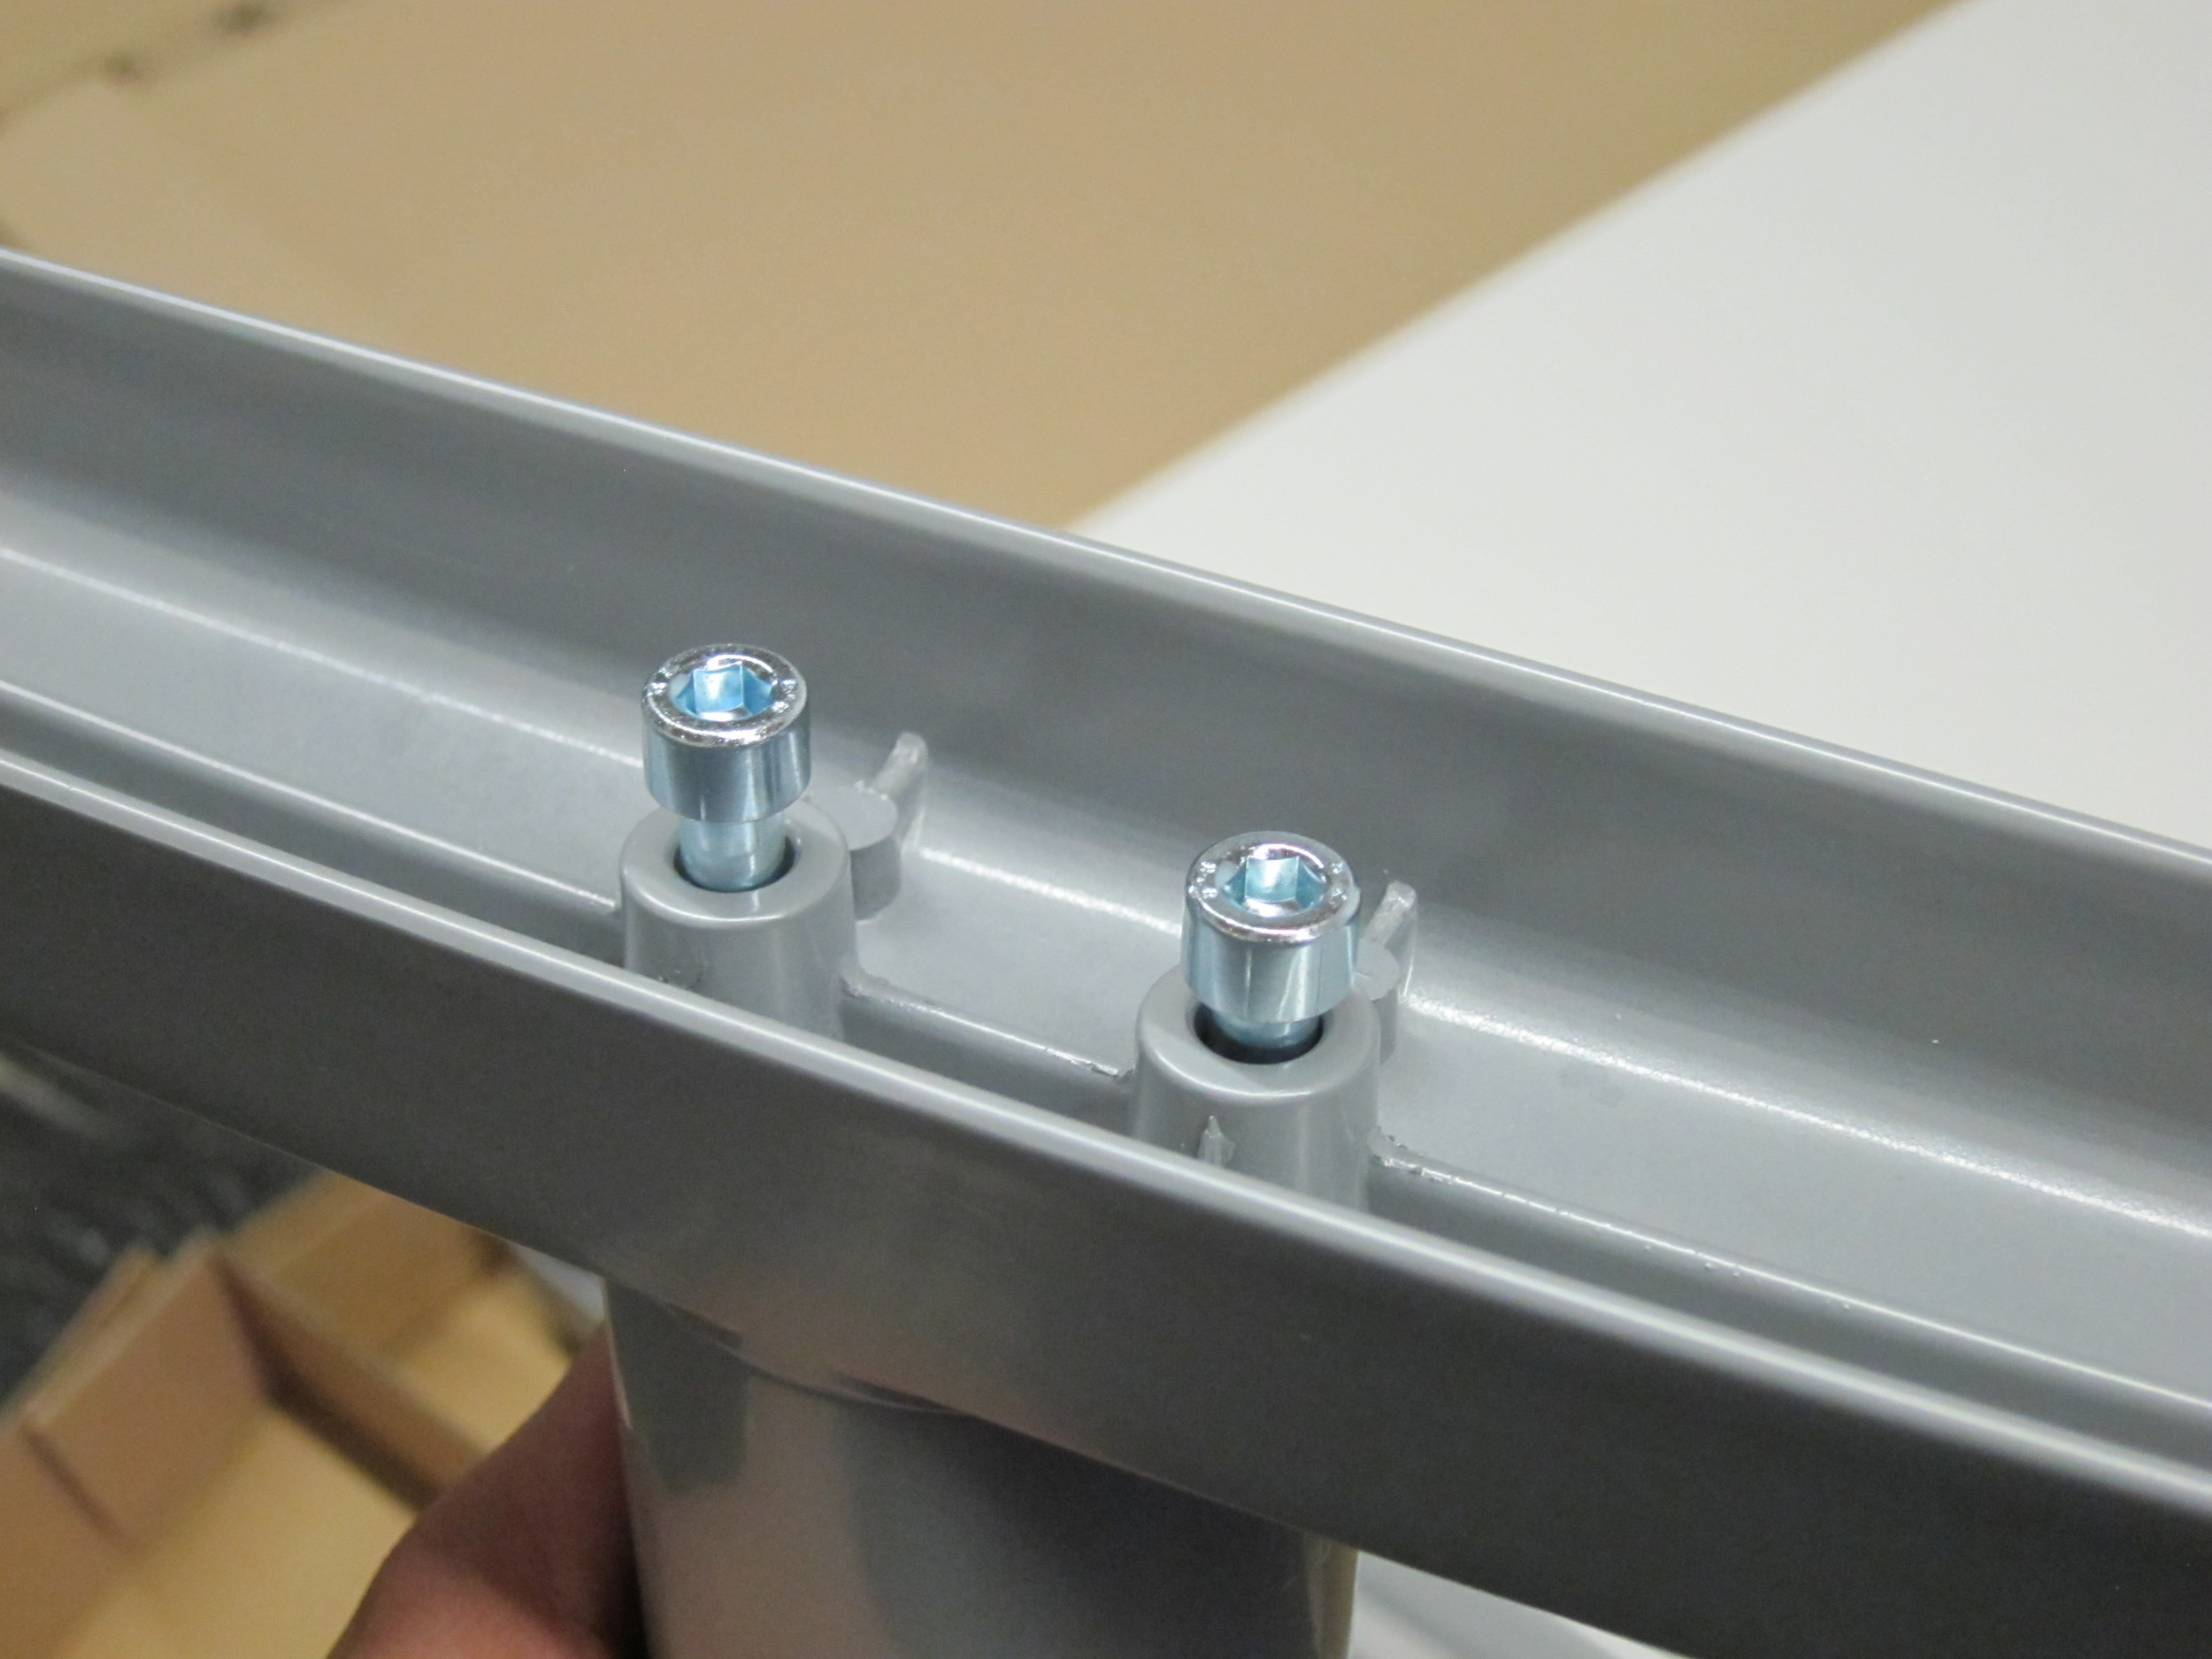
- Tip: The big hex key for the leg screw for attaching the leg to the frame is part of the frame's supply.
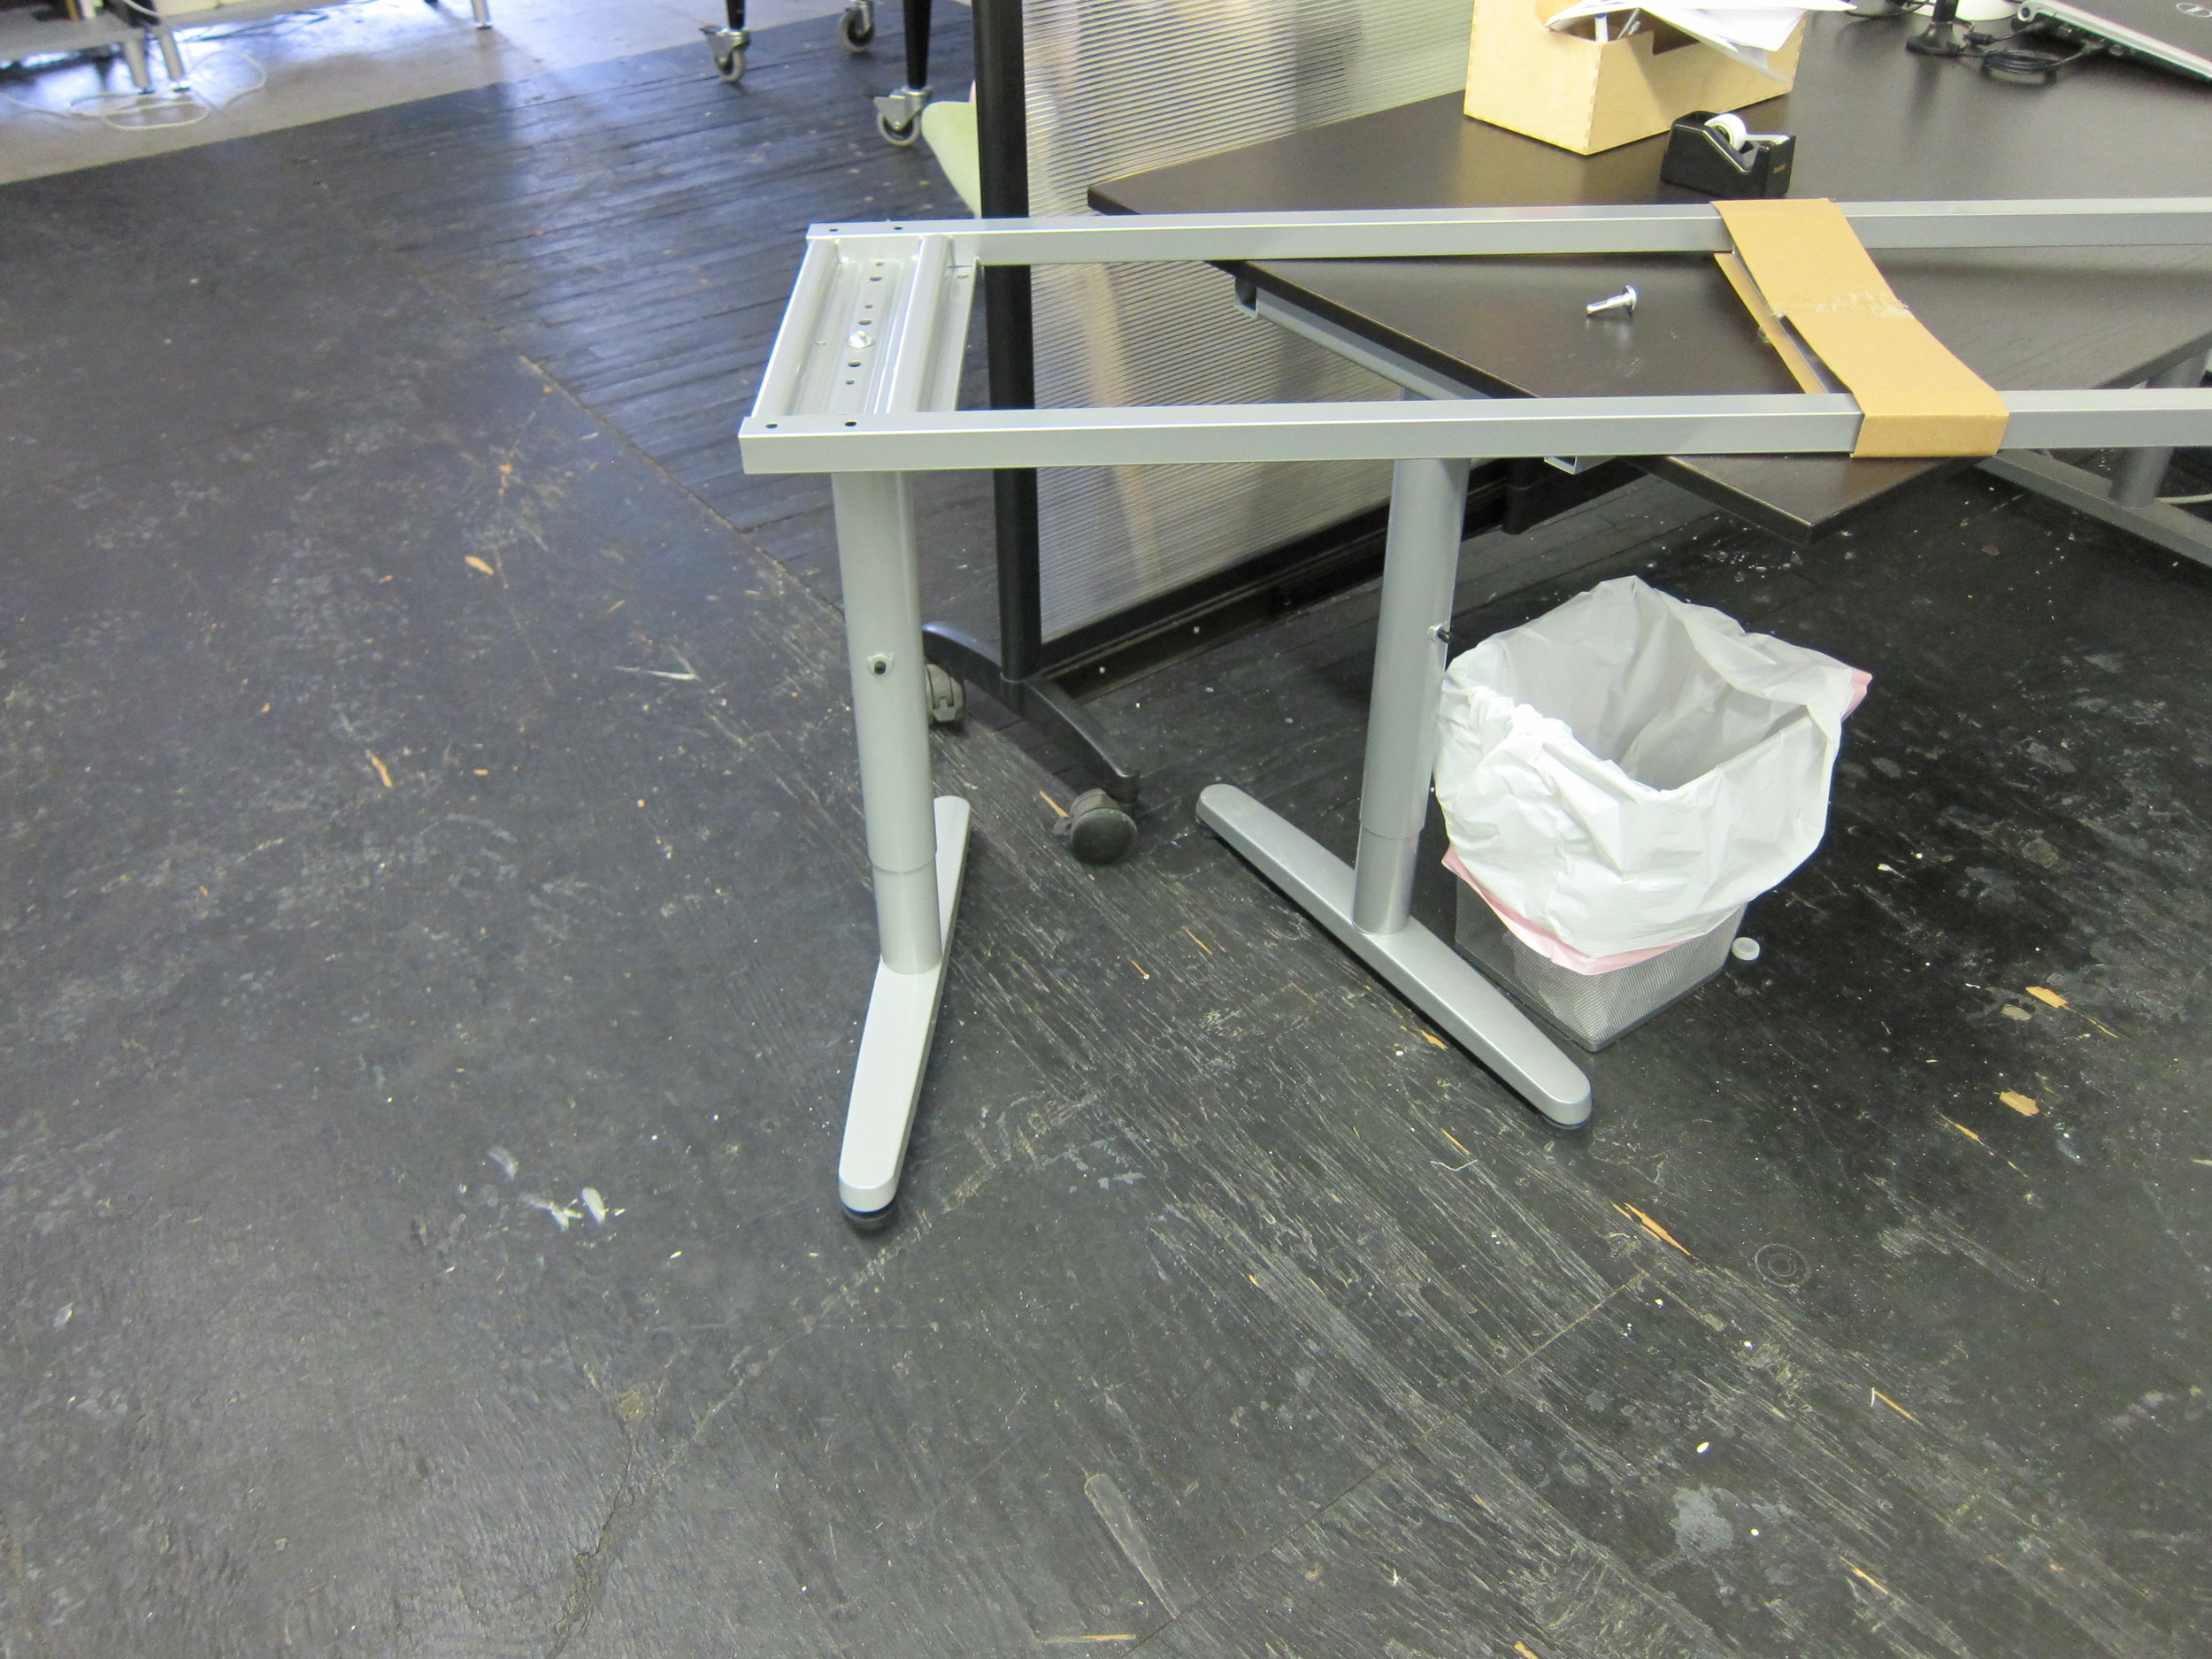
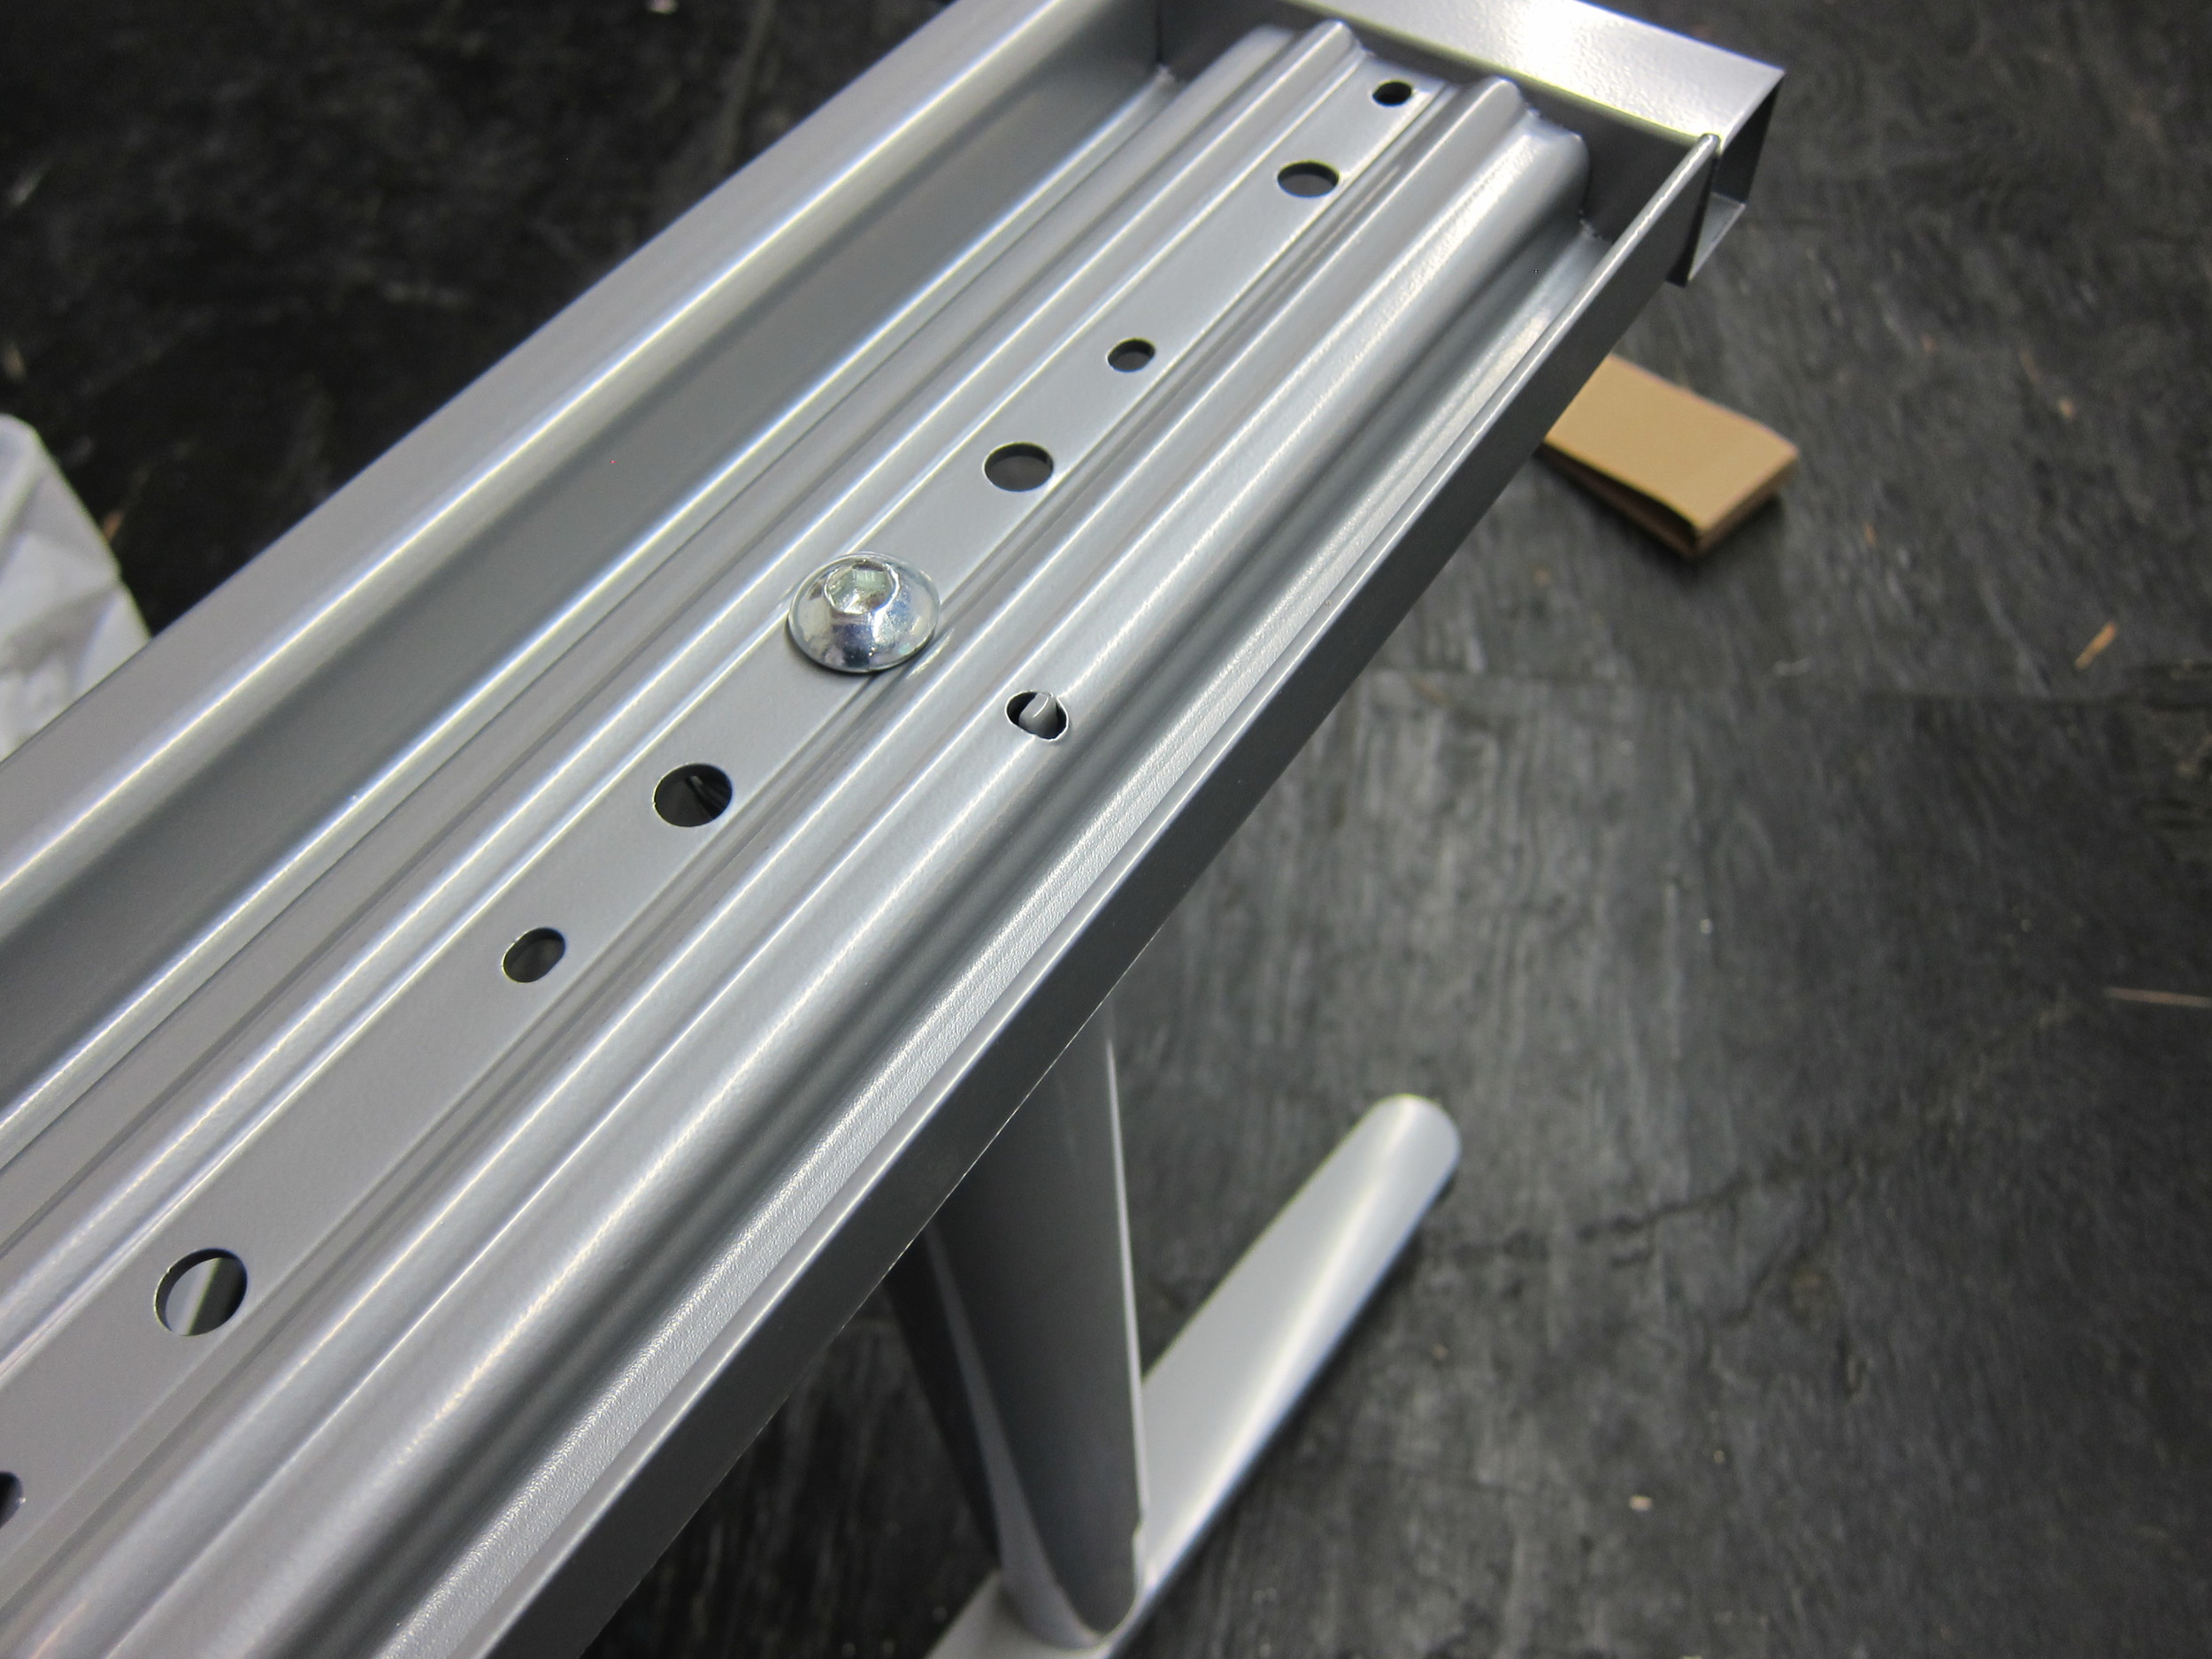
- Make sure the frame is the right side up when attaching the legs. See photo
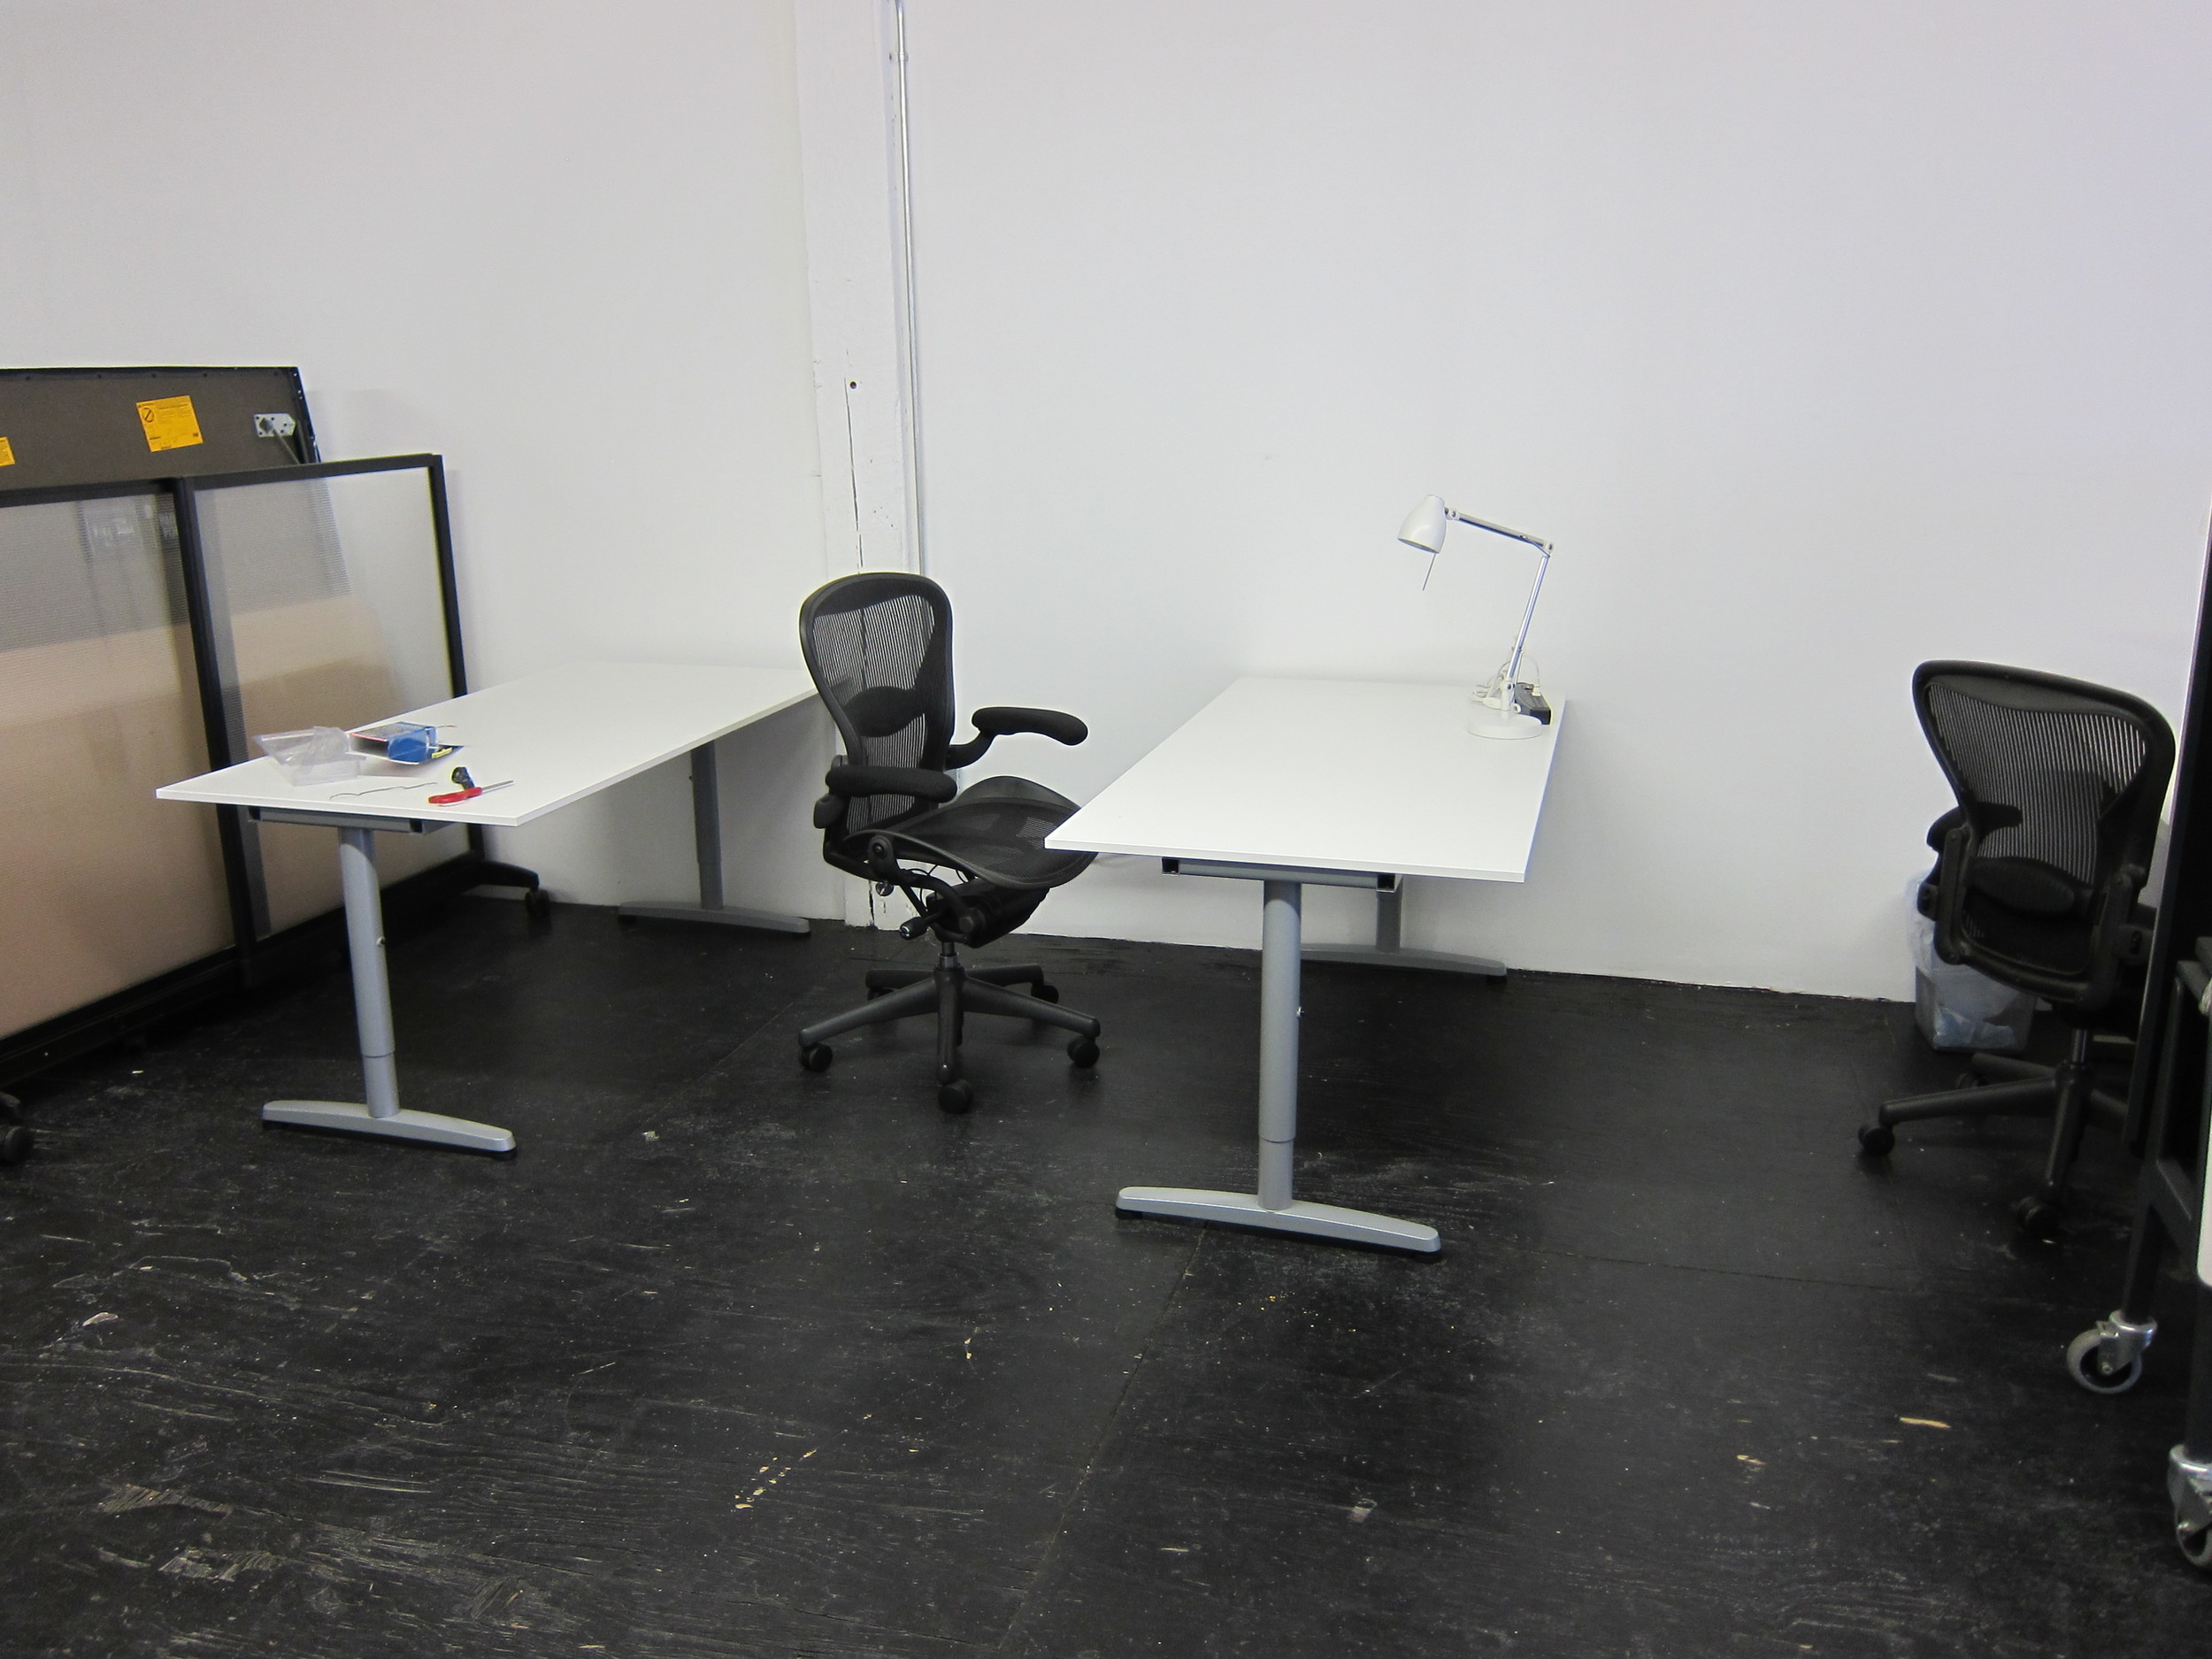
- It is hard to attach the legs by yourself. I balance the frame on (what else) an existing Galant desk. See photo.
The Galant series is a great line of work desk. Enjoy yours and hope that our tips here help you put yours together.
IKEA Tool Box Hack
I need a toolbox to store my supplies and tools for building electronic circuitries. Something that looks good in a normal office setting. Why not another IKEA hack? I always wanted to try one of the FIRA mini chests. They are functional, but too plain looking. Since this tool box is for electronics, metal handles make sense to me. A quick search at IKEA found the cheapest handles, Kosing, 6 pieces for $1.99. Not bad. I have already figured out that I need to mount the handles alone the center line of the small drawers. Otherwise the back of the draw will hit the screw and stop the drawer from being pulled forward. One other thing that I did not anticipate is that the handle screws are too long. I had to add four #8 washers to the screw to make it fit. I put three at the bottom, one at the top.
Other than these two little things, it's pretty easy to do. To recap:
- before assembling the chest, measure the locations for the handles at the top plate. Make sure it lines up with the center line for the left (and right) mini chest.
- Drill hopes for the handle screws. Make sure they are right. I actually was off by 1/16 of an inch on one side. Luckily I can redo it by switching the top plate to the bottom.
- Assemble the chest, screw in the handles before installing the horizontal dividers.
- Done!
Some pictures to help explain:
Ikea job interview
Found this on the web, for the IKEA lover/haters (?): Click to view
IKEA Moleskines ?
IKEA has a new line of product called "STRIKT". It includes a set of small storage boxes for the desk, and a hard cover notebook. The notebook seems to have nice paper and similar size to a large moleskines. Has anyone tried it yet?
IKEA Malm Chest of Drawers
Same old story -- not enough storage in the loft. I put together the IKEA Malm 6 chest of drawers this weekend. Took me two hours. This IKEA piece is a little different from the other pieces that I put together. Some notables are:
- It does not use any hex/allen screw. So you could just use a philips and a flat blade screwdriver. Could have used a power screwdriver (but I did not).
- For the drawers, it uses a nylon fastener for the back, and you need to hammer them in.
- The one tricky part is the enter rails for the top two half sized drawers -- make sure you put them into the center vertical piece the right side up -- the curved part points downwards.Check the end of the rails at the back. Compare them with the ones already fastened to the sides and you can tell.
- It comes with its own nylon floor glide/protectors. Nice touch.
- I wanted to mount caster wheels on the unit, but I cannot because it does not really have any bottom pieces that I can screw four wheels into.
IKEA Self Watering Plant Pot Hack / Flood Rescue

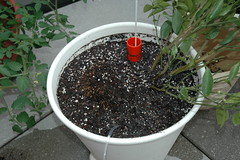
I am at the beginning of my Terrace dressup project. Bought a few IKEA PS FEJÖ self watering plant pot. The color scheme works nicely with the rest of the terrace. Planted our Clementine Mandarin orange tree in one of them. Then came the heavy rain. Because the pot is self watering, meaning there is a water reservior in the bottom, there is no drain hole. With a few days of non stop rain, the pot of soil turned into slush.
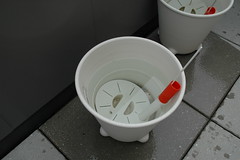
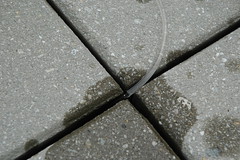
What to do? Physics to the rescue. I bought four feet of aquarium PVC flexible tubing / air hose from a pet store. Filling it with water first (or you can suck the water into it after insertion), I dug down into the mush/soil and inserted the tube under the top plate of the water reservior. As long as you keep the outside end of the tube below the pot, gravity from the outside end of the tube will draw the water out. You can see it draining here:
About 30 minutes later, the soil in the pot is (almost) back to just very very wet. I will keep the hose there now and next time it gets flooded, a little (careful) sucking and I can siphon out water again.
Another IKEA hack – Solid Wood Table
Combining different parts from IKEA to build a better personalized product is alway satisfying. My own shoe rack + Magiker shoe storage cabinet is one. This particular kitchen counter top + office table leg hack results in a strong and clean looking desk !
IKEA Shoe Storage
Shoe storage is very important to keeping the house tidy. Us Asian especially like to take our shoes off at the door. Any normal shoe storage solution is likely to be too small. What to do? We bought two IKEA MAGIKER short shelves with doors for our entry hall. Out of all the series at IKEA, I always like the MAGIKER series. It's clean look, especially in the lighter colors, matches a modern interior nicely without being too cold. Since we have very light bamboo floors, the color further matches.
The original idea was to use those cabinets as secondary storage, while giving us a display space for the entry hall. Once we put them up we realized that they are perfect for shoes. The only trouble is that we could use double the shelves. Today I found a new shoes rack that is not in their catalog call FRAN. They fit perfectly in the cabinet, but you need to take one of the doors off temporarily to put them inside. See pictures below:
Ikea Measurements and Kassett Box Labels
I have waited and waited, finally we have a local Ikea store !! It's here just in time for us to outfit the new loft with selected items from Ikea. When I was measuring the various space in the loft to fit cabinets etc from Ikea, I always find that the Ikea items have strange measurements. For example, why is the LACK shelf 13 3/4 inches wide? Because, we are the very last of the developed nation that still uses inches and feet. The rest of the world has gone metric long time ago, and all the Ikea global products are in metric. 13 3/4 is really 35 cm wide. So, when you buy any of the Kassett storage boxes, and you need more labels for them, they are 3 cm x 6 cm, not some strange measurements. To save you time, I have made a PDF of some Kassett box labels. for you to download here. Enjoy !


